


Post by Alexa Raven on Mar 18, 2013 10:13:46 GMT -5
How I make my pictures for my fanfic title images
*Note: This is my sixth attempt to put this thread up in it's entirety as i have now had to reboot my system twice due to it locking up on me. thankfully I have already uploaded the images to my photobucket.com account in order to show you image examples. Also I had to wait as Photobucket went into site maintenece a bit agao and now has resumed it's normal functions thanfully.*
Alright so I have decided to share my own experiences in image making with you the viewer or reader in this case. I am no expert when it comes to image making atleast i am honest enough to know and say this. I self taught myself to make videos and images as I did not attend a college or higher education to do so. I muttled my way into this and this is how i do the things I do. This is how I mke the chapter images or Fanfic banners for my stories. please note that there are other ways to do it out there and tutorials I am sure to show you how to make images. I know that at this time I am not accesable to Photshop and cannot show you how to use that. i am in truth a novice of that program but i do know how to use it for my own purposes.
Programs I will use in this tutorial to show you how to make Fanfic images the way I create them
![]() Microsoft Windows Seven Ultimate Paint program (What you get free and basic with Windows Seven Ultimate or any standard windows paint program you use.)
Microsoft Windows Seven Ultimate Paint program (What you get free and basic with Windows Seven Ultimate or any standard windows paint program you use.)![]() Photobucket.com account(For uploading the screen shots i have used for demonstration purposes for this tutorial)
Photobucket.com account(For uploading the screen shots i have used for demonstration purposes for this tutorial)
Step One: Finding your image you want to use for your project.
Alright so for me the first thing I do is go and search for an image if I do not already have it on my hard drive to use. For this example and tutorial I have chosen to go and use Google search @ Google.com. Also normally if I don't find the image I want I also use: Bing most of the time to find my images I use and manipulate a bit.
Both are good with images and sometimes you find different images on each program. My suggestion is to use either of both the above mentioned sites as your search for images.
Alright so here the following is the examples in image for you to see what I am describing.
Example of a standard Google.com search page.
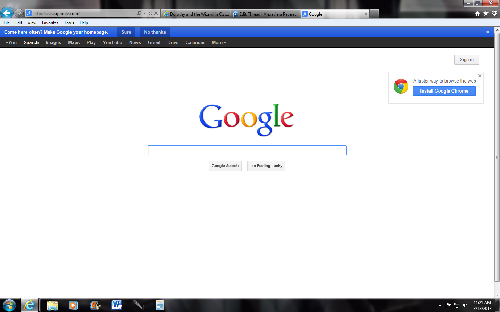
Here it is basic the start page for Google search. Simple and easy all you do is to type in what you are searching for and it takes you to a page where it gives you a list of things to choose from. In my attempt to do this tutorial I typed in Dramione and I got the following:
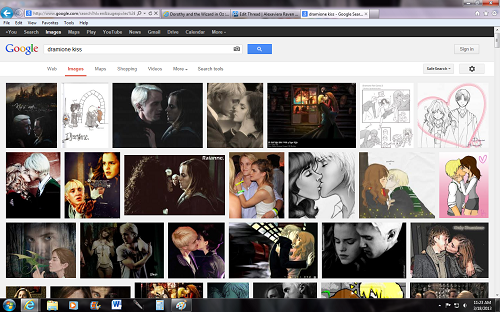
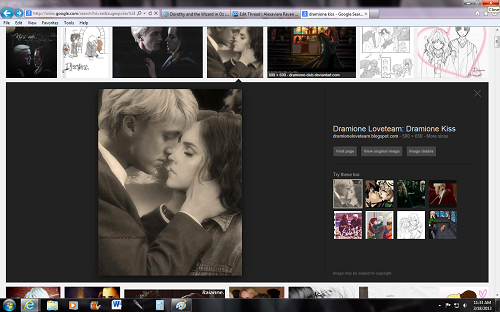
This is what Igot above from the keywords Dramione kissing. I liked a few of the pictures I got in this search but I used the following one below to make this tutorial and the project.
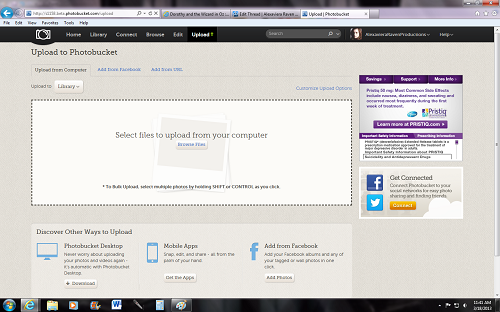
Step Two: Uploading the file to Photobucket.com
Alright for me I use Photobucket.com though there are a great many you can use to upload your photo files to. I use that one. I had downloaded the picture by right clicking the mouse and saving it to my hard drive. Now I will upload it to Photobucket.com and show you what I do with it after that.
![]() Photobucket.com's upload screen
Photobucket.com's upload screen![]()
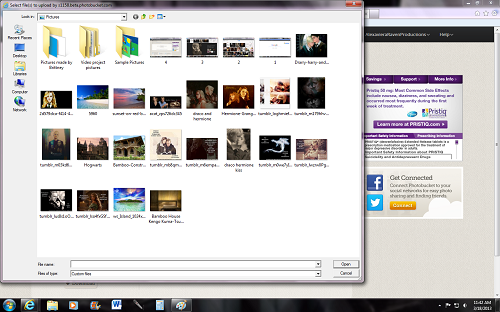
![]() Choosing the image file from my computer
Choosing the image file from my computer![]()
![]() Image sucessfully uploaded to my library at Photobucket.com before manipulations and customization.
Image sucessfully uploaded to my library at Photobucket.com before manipulations and customization.![]()

Step Three: Manipulating and customizing the image you want to use.
Alright so now the image is uploaded.. Horray! This is good and it's progress. Now in this case there are several things you can do to make this picture more customizeable. For me since it is a photo that is an more sephia tone,I decided to change the look a bit as well as for my use it will be customized with words as well. the Photobucket editor has a wonderful way of helping you do this and is relatively easy to use.
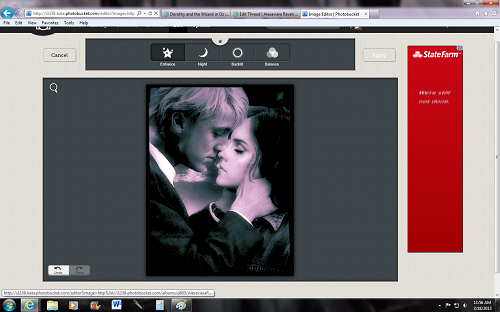
Open the editor and begin as you do this it will look like the following to you if done right or atleast whatever your image is suppose to be.
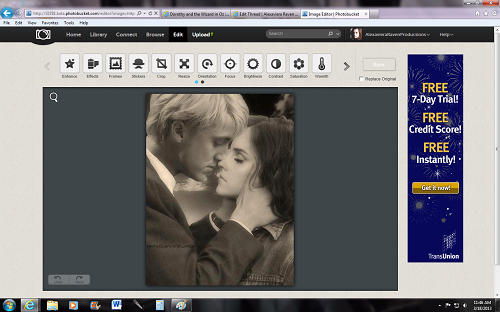
Originally uploaded picture file before editing is the example above. I however like I have mentioned wanted to do something different and so at the top of the editing page I clicked on the Effects button which gives you several different ways to make the picture seeem to pop on the page. For this the example below is after using the effect Park Avenue with this image.
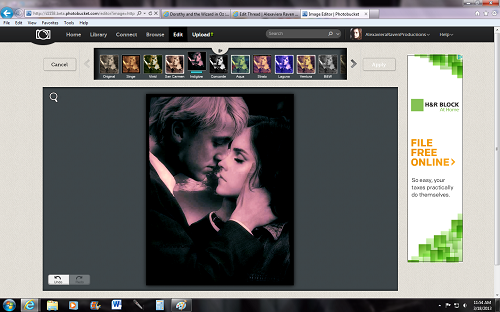
Next I saved that effect and decided it needed a little balancing out. So the next image will show the saved phot and how it looks after I balanced the colors out a bit.
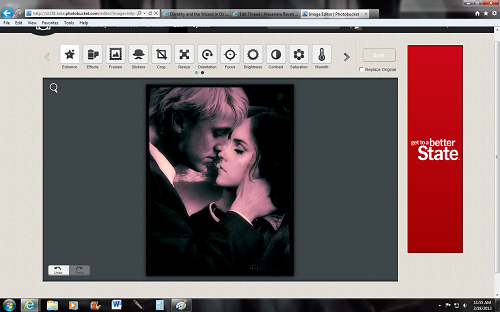
![]() Saved after the effects have been added
Saved after the effects have been added ![]()
After all of that i decided it needed a border and I decided to place one on it before i added text to the image. And so I added the following as a border for this project.
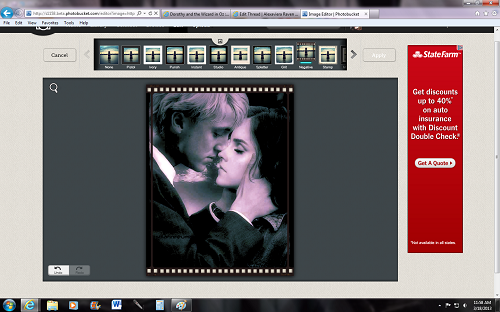
Looks like a movie reel doesn't it?
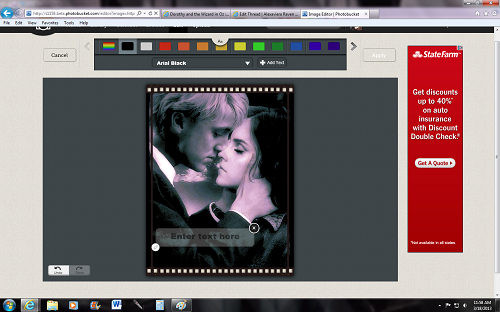
Step Four: Adding Text
Alright So here is the last step before completely saving the file. I add the tex and below is the example of that. At the end of this tutorial I will show you the finished project for you to look at.
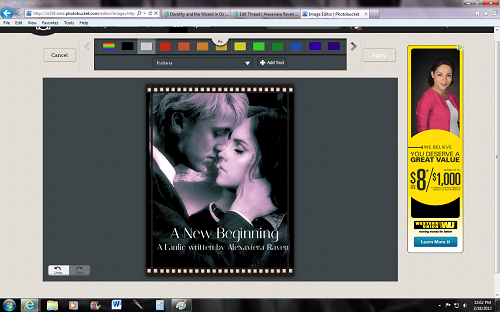
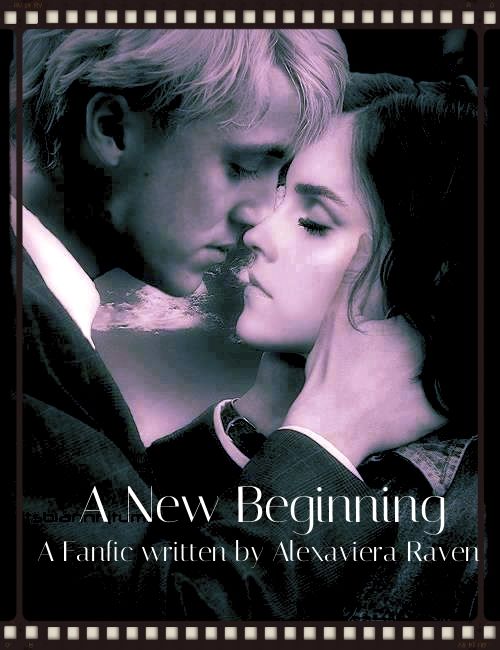
The new banner for A New beginning that we just made and I did this tutorial for. it came out very nice and I really like it. Thank you for reading this and I hope I help someone with their creativity. Blessed Be and Again thanks for reading/watching!! <3 Alexa


 I am pretty much going to go step by step while I do it so it might be a bit boring but lol it'll be interesting to others i'm sure as I myself just go and do it so I dont even think about it anymore..

