


Post by Alexa Raven on Feb 4, 2013 23:13:01 GMT -5
Microsoft offers Windows Live Movie Maker as a free download to users of genuine versions of Windows.
The Windows Live version of Movie Maker is the successor to Microsoft's well-received Movie Maker application.
The program makes it relatively simple for even complete novices to create videos using photos, music and even other video clips in almost no time at all.
After you create your video Windows Live Movie Maker, the program offers options for rendering it into a Windows compatible movie format you can play on your computer or share on the Internet.
(I use windows and Windows Live Movie Maker and so I can tell you about that video program.)
Instructions
Click "Start" then "All Programs" then "Windows Live Movie Maker.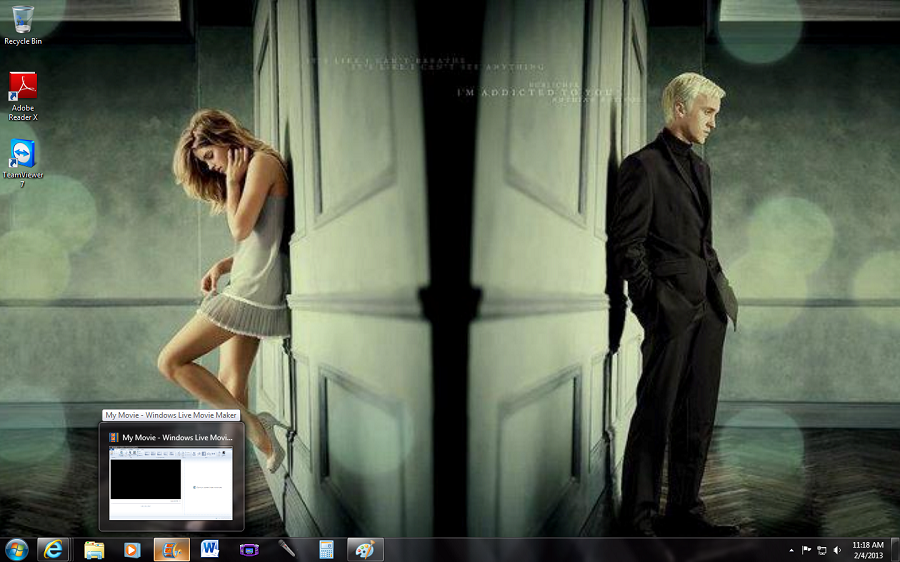
This is what my own desktop and the wallpaper looks like. For me I have pinned the WLMM to the task bar and that is what is highlighted at the bottom with the movie reel icon. So first you click the program and you wait for it to load.
Click the "Add videos and photos" button on the tool bar. Navigate to a photo image or video clip to include in the movie. Highlight the file name and click the "Open" button.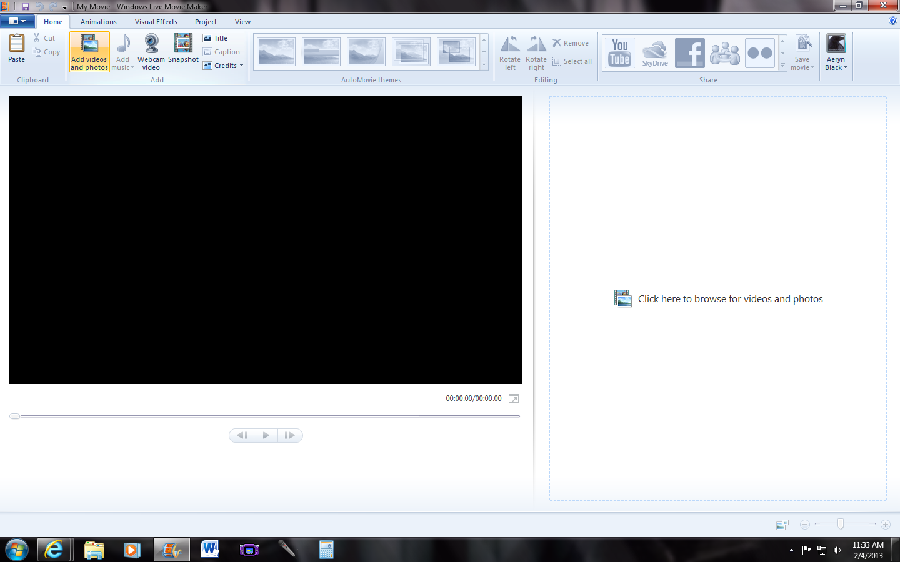
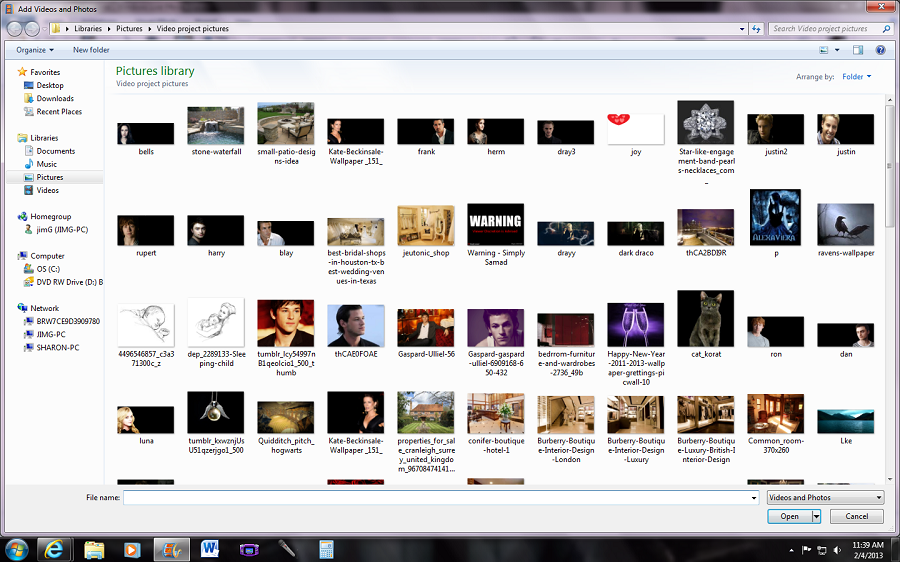
Insert more photos or video clips as needed into the movie by browsing for them using the "Add videos and photos" button on the toolbar.
For this one I will start with one picture to show you how to do so. Example of this is below.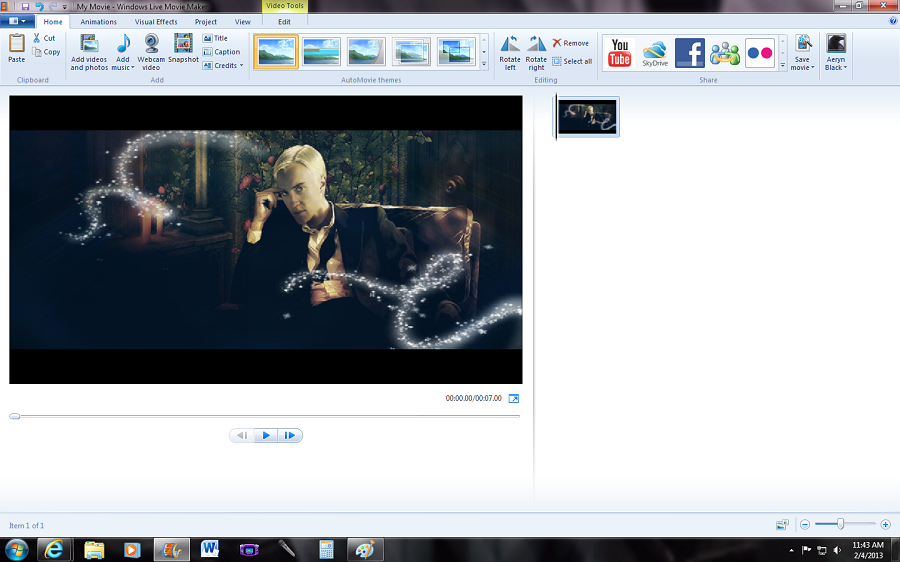
Alright so now we have a picture. I am using a picture of Draco Malfoy to show you what it looks like once you have added a picture to the maker. Depending on how long you would like your video,It depends on the amount of pictures you would add to your project.
Click the "Title" button on the toolbar to create a title screen for the movie. Change the default text from "My Movie" to something more appropriate or descriptive for the movie. You can also use the font controls to change the size, color and transparency of the title text.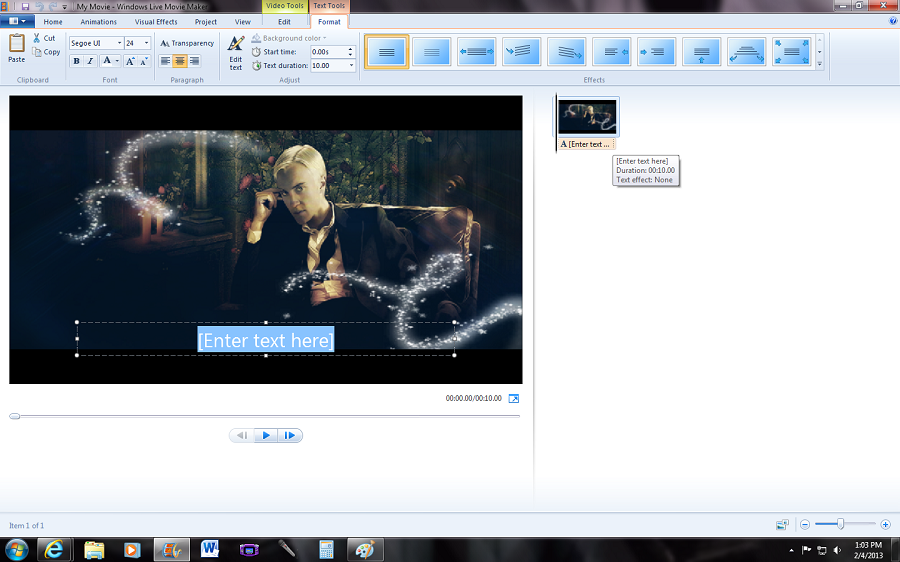
For this project we will be making an episode of The Diary of A Slytherin Prince.
Notice the highlighted text in blue above that says {Enter Text Here?} Well there you would type in whatever text you wanted. Like for instance in this case it will be the title picture for The Diary of the Slytherin Prince.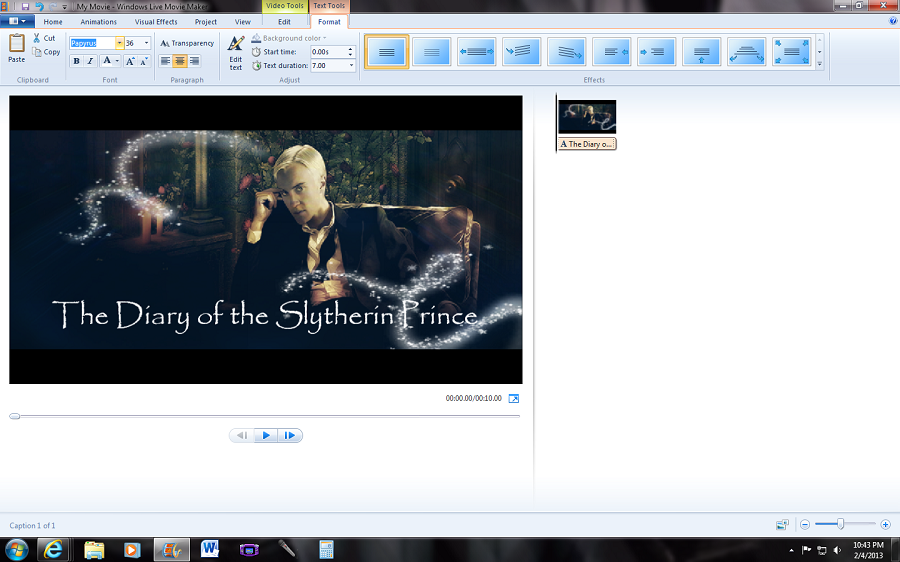
Okay so now there is a Title! Well done. Now to add more picturees and text go and follow the last few steps until you have a few pictures. Example below of what a few different characters pictures and dialog looks like.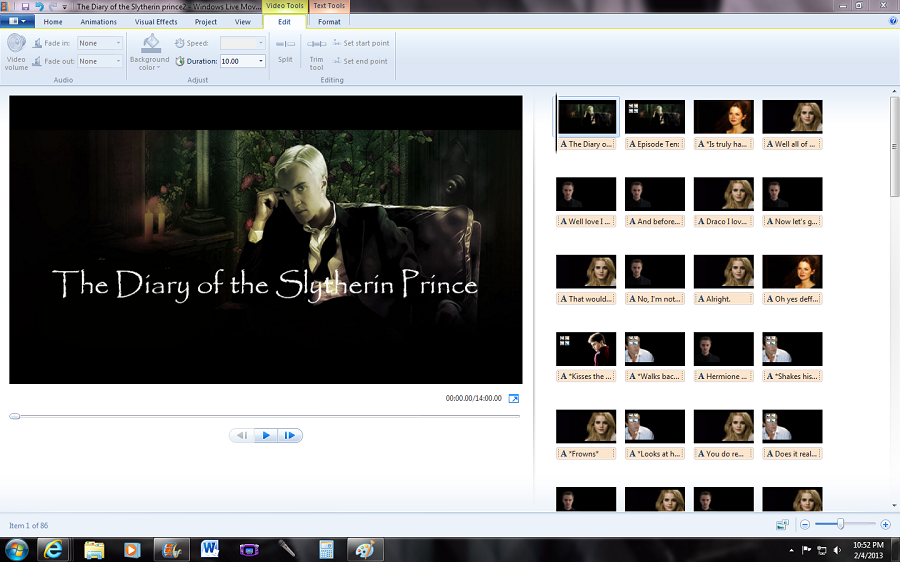
So far so good. This actually is my current project for episode Ten of the Diary of the Slytherin prince. It is half finished as I write this tutorial. But this is what I see when I start creating a video. Below is an example and or what I have above in pictures in a video format.
Before it is released completed however it seems I need to make a few changes and will do so. Which is easy by editing text,
So are you still with me so far folks?
Okay once you have a video done or in this case partially.. you should save your project. 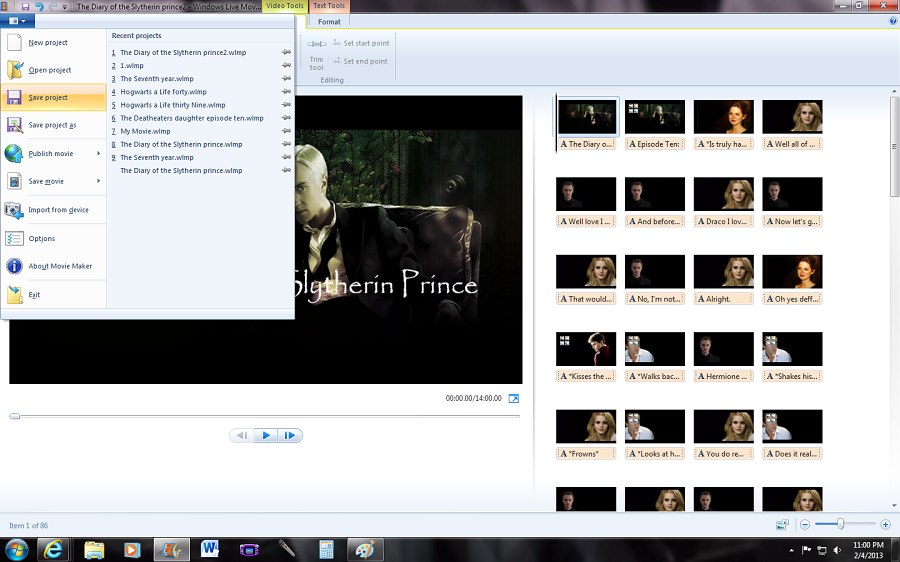
Or if you have finished your video you can render the movie and upload it to the Internet by clicking one of the website icons on the tool bar. Websites to which you can upload formatted videos are SkyDrive, Facebook, YouTube, Windows Live and Flickr. Click and select a resolution setting. Windows Live Movie Maker renders the movie using the chosen resolution. Log in to your Windows Live account. Enter a descriptive name for the movie and your login credentials for the chosen site. Follow the prompts to continue rendering the movie and upload it to the Internet site.
For example below: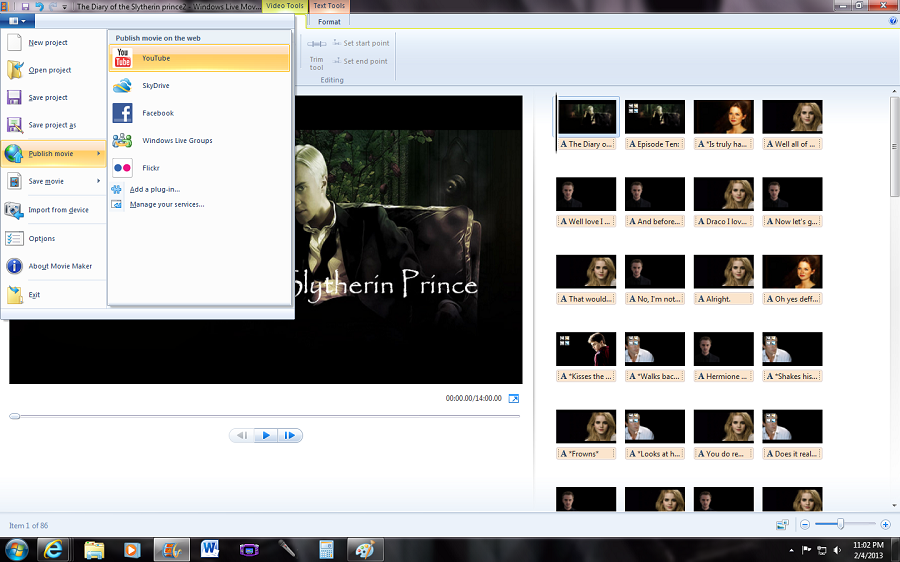
Click the "Save Movie" button on the tool bar to save the movie to your computer. Enter a file name for the movie in the "File name:" field and click the "Save" button. Windows Movie Maker renders and saves the movie using default settings. To change the rendering settings, click the drop-down box beneath the "Save Movie" button and choose the resolution, bit-rate and audio settings to use for the movie.
Alright and they it is! A video made. Next time I will be explaining ways on how i make picture files and such. Feel free to reply to this thread if you have any questions and are not sure about what I have written here.
Until laters BB! <3 Alexa

 .
.